
Four freezer bananas, one second chance.
You know those bananas in your freezer that you've been meaning to deal with for weeks? The ones that look like a crime scene when they thaw? This is their redemption arc.
I based this on a banana bread recipe I found, then changed enough of it that it answers to me now: more bananas, more flour, my technique, my tweaks. That's the deal around here — borrow the skeleton, bring your own personality.
Why Frozen Bananas Work
I asked about this literally this morning: are freezer bananas still good for banana bread after thawing overnight in the fridge? Yes. Better than good, actually. Freezing breaks them down so they mash easier and taste sweeter. They'll leak a lot of liquid when they thaw — don't drain it, that's flavor. Mash it all in together. As long as they went into the freezer before they turned and don't smell fermented, you're golden.
A Quick Confession
Like last week's muffins, this started as someone else's recipe. I took the base, doubled down on the bananas (four, frozen and thawed), upped the flour to two full cups of Bob's Red Mill 1-to-1, and changed the method to match how I actually bake. Tested in my oven, in my dish, with my bananas. Mine now.
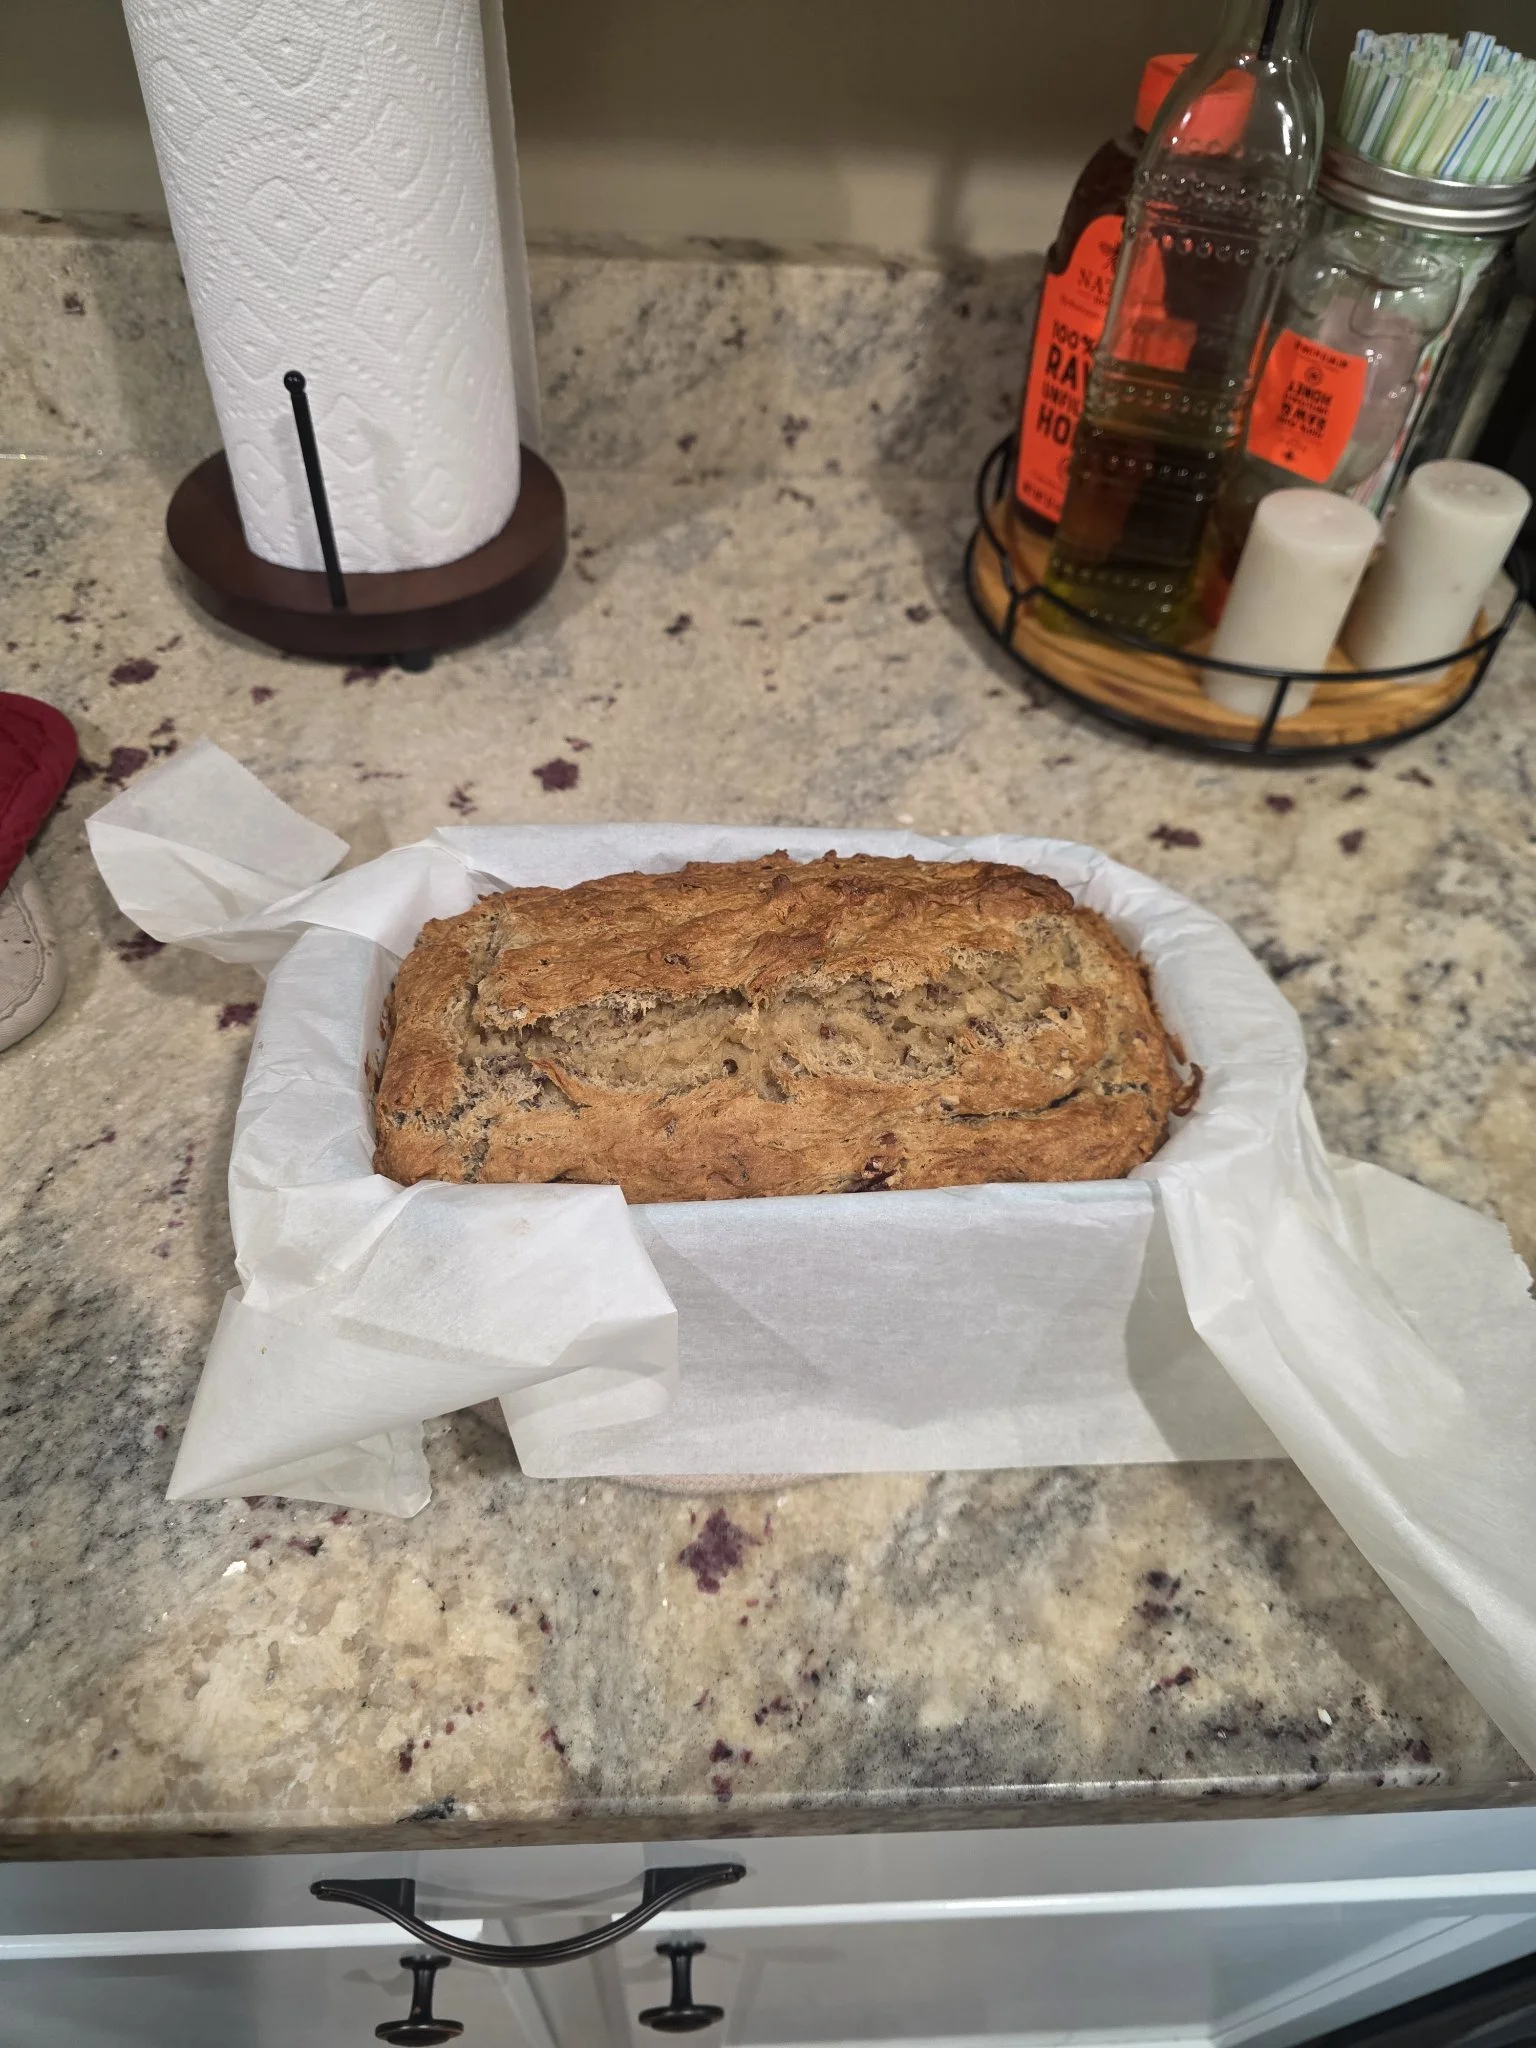
What You Need
4 very ripe bananas, frozen then thawed overnight in the fridge (liquid and all)
1 teaspoon (4.6 g) baking soda
⅓ cup (75 g) unsalted butter, melted
¾ cup (150 g) granulated sugar
Pinch of salt
2 large eggs, beaten
1 heaping teaspoon pure vanilla extract
2 cups Bob's Red Mill 1-to-1 gluten-free flour
1 cup pecans, crushed
Note: Bob's 1-to-1 already has xanthan gum in it, so skip the extra ¼ teaspoon the original recipe calls for. If your blend doesn't include it, add it.
How To Make It
Step 1: Prep
Preheat the oven to 350°F (177°C). Line your loaf pan with parchment paper — not just greased, lined. Future you, prying out a stuck loaf at midnight, says thanks.
Step 2: Mash
Mash the thawed bananas (with all their liquid) in a mixing bowl until smooth. Use a potato masher for this — it gets them smoother, faster, with less arm workout.
Step 3: Build the batter
Stir the baking soda into the mashed bananas, then the melted butter. Add the sugar, salt, eggs, and vanilla and stir it all together.
Step 4: Flour and pecans
Here's where you ditch the masher and switch to a spatula. Fold in the flour gently, just until no dry streaks remain, then fold in the crushed pecans. Don't overmix — GF flour gets gummy when it's overworked, and nobody wants gummy bread.
Step 5: Bake
Pour the batter into the lined loaf pan. Bake on the center rack at 350°F for roughly 1 hour, until a toothpick inserted in the center comes out clean. All ovens are different, so start checking around 50 minutes.
Step 6: Cool
Cool completely in the pan before slicing. I know. It's hard. Do it anyway — GF bread finishes setting as it cools, and slicing early gives you a mushy middle.
The Honest Notes
Four bananas sounds like a lot. It's not. It's the reason this loaf is moist instead of sad.
Crush the pecans in a Ziploc bag with a meat mallet. It's the correct method and also stress relief. Two birds.
The potato-masher-to-spatula switch isn't fussy — it's the difference between smooth bananas and overmixed flour. Two tools, worth it.
Parchment paper over cooking spray, every time. The loaf lifts straight out, no drama.
This keeps 3–4 days in an airtight container at room temp, longer in the fridge. It also freezes well — slice it first, then freeze the slices with parchment between them.
Every ingredient here is certified GF, because antibodies don't care about "pretty much gluten-free."
Team "eat the end slice warm" or team "wait until it's completely cool like a responsible adult"? Wrong answers only.
